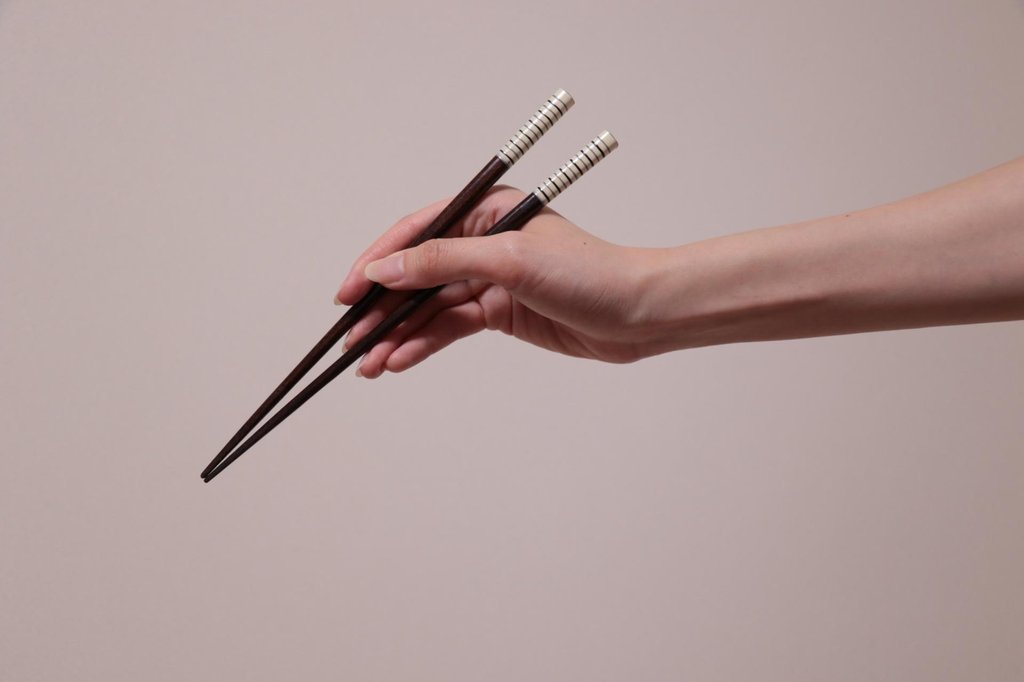
Have you ever wanted to make your own pair of chopsticks that fit your hand perfectly? Once you start exploring the process, you may find yourself wondering which type of wood to choose, whether you can shape chopsticks without a lathe, and how to finish them without breaking their delicate tips.
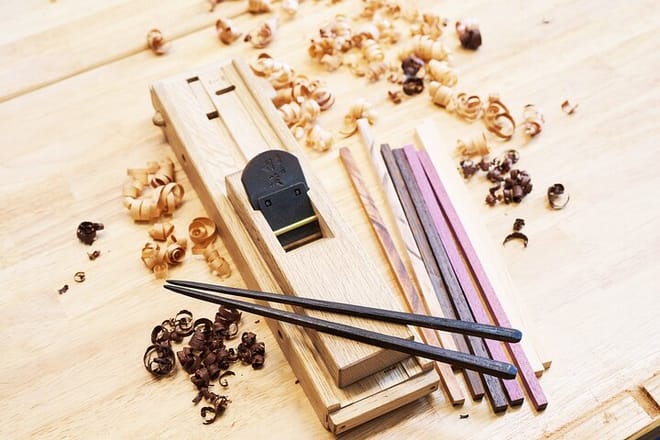
In this article, you will learn how to make chopsticks in three steps using simple hand tools, including a traditional Japanese hand plane and a small knife. You will also discover how to choose suitable wood and which finishing oils are safe for items that come into contact with your mouth. Finally, we introduce workshops in Japan where you can make your own chopsticks with guidance in English.
The Basic Process of Making Chopsticks with Hand Tools
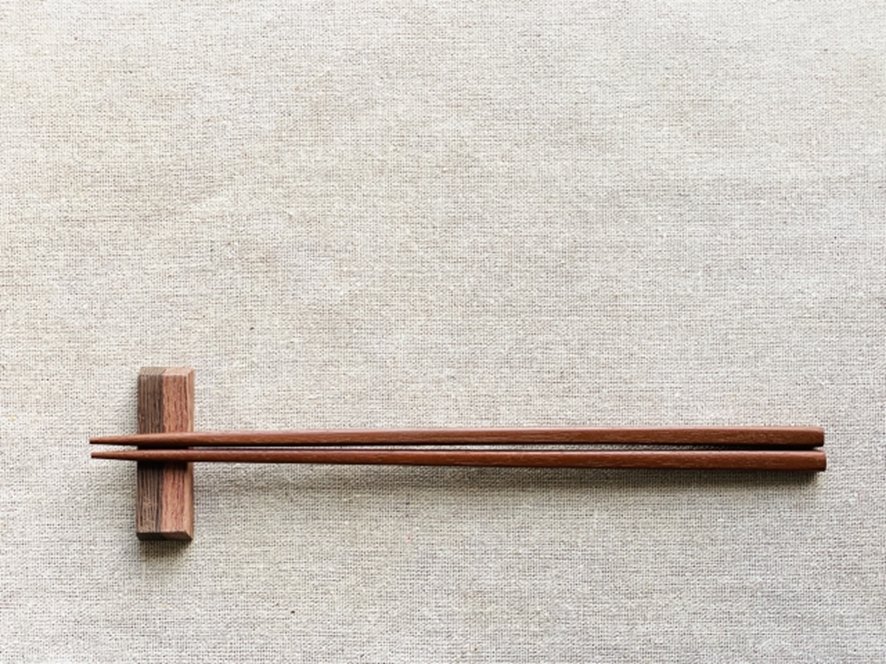
Once you have gathered your materials and tools, you can make your own wooden chopsticks in three steps: cutting, shaping, and finishing. No large machinery is required. All you need is a saw, a hand plane or small knife, and sandpaper.
| Step | What you do | Result |
|---|---|---|
| Cutting | Cut the wood to the length and thickness of one chopstick | A square stick, 7–8 mm on each side |
| Shaping | Plane off the corners to make an octagon, and taper it toward the tip | An octagonal stick with a narrow tip |
| Finishing | Sand it, and apply oil that’s safe to put in your mouth | Smooth, ready-to-use chopsticks |
There is a reason for following this order. Starting with a stick with a square cross section makes it easier to see how much wood you have removed from each face, allowing you to shape all four sides evenly. Sanding and oiling come last so you can remove the fine scratches and raised wood fibers left by shaping in one go. If you change the order, you may end up scratching the sanded surface with your cutting tools, so be sure to follow these steps in sequence.
What You Need and How to Prepare
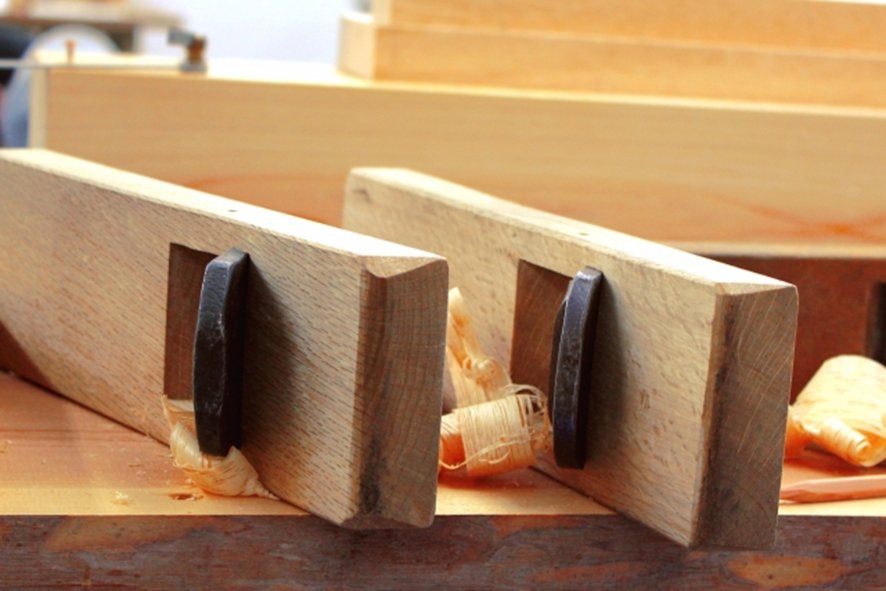
Before you begin, prepare five items: wood, a hand plane, a holding jig, sandpaper, and finishing oil. You can find most of them without visiting a specialty store. However, choosing the wrong materials or tools can lead to problems, such as wood that is difficult to shape, tips that break easily, or a sticky finish. Here is what to look for when choosing each item.
Wood: Choose a Soft Wood If It’s Your First Time
If you are making chopsticks for the first time, softwoods such as Japanese cedar or Japanese cypress are good choices. The blade cuts into the wood easily with light pressure, allowing you to learn how to position the plane and control the force you apply. The wood is also quick to shape. However, softwoods have one drawback: the thinner you make the tips, the more easily they bend.
Once you are comfortable shaping wood and want to make sturdy chopsticks for everyday use, choose a hardwood with a fine, close grain.
| Wood | Ease of shaping | Best for |
|---|---|---|
| Japanese cedar, Japanese cypress | Very easy to shape | Practice, your 1st pair |
| Black cherry | Fairly easy to shape | Hardness benchmark (softer woods flex in use) |
| Hard maple, rosewood, jatoba | Hard and time-consuming | Sturdy everyday chopsticks |
Offcuts from furniture-making or other woodworking projects work well, too, as long as they are long enough. Whatever type of wood you choose, select a piece with no knots and straight grain running along its length. If the grain runs diagonally, the wood fibers are cut short, making the thin tips more prone to chipping or breaking.
Hand Plane: Use a Small Knife If You Don’t Have One
A small hand plane that fits in your palm can handle every stage of shaping, from removing the corners to refining the tips. However, the direction of the cutting stroke depends on the type of plane. Japanese planes cut on the pull stroke, so you apply force as you pull the plane toward you. Western block planes, which are designed for one-handed use, cut on the push stroke. Adjust your technique accordingly.
As a general rule, set the blade so that it projects only slightly from the sole, allowing it to remove thin shavings. Planing along the grain helps prevent splintering. For safety, never place your hand in the path of the blade.
If you do not have a plane, you can still achieve good results by roughing out the shape with a small knife or carving chisel, then refining it with sandpaper. If you are uncomfortable working with cutting tools, consider using Japanese cypress blanks designed specifically for chopstick making. These blanks are already cut close to the final thickness, allowing you to shape them using sandpaper alone.
Holding Jig: Make One from a Board and Offcuts
If the wood shifts while you are planing, the two chopsticks may end up with different thicknesses, and the blade could slip and cause injury. You do not need specialized woodworking equipment, however. A simple jig made from a board and a few offcuts can hold the wood securely in place.
A Japanese local government’s guide to chopstick-making materials for children describes one way to set this up: place a non-slip mat and a stop block—a piece of wood that prevents the workpiece from sliding forward—on the workbench. Then secure the holder that keeps the wood in place to the workbench with a clamp before planing. A non-slip kitchen mat can also be used in place of a workshop mat.
To make both chopsticks the same thickness, use a board with a groove cut to the desired thickness. Place the wood in the groove and plane it until the sole of the plane rests level with the board. Once the plane reaches the board’s surface, it can no longer remove material from the wood within the groove. The groove therefore acts as a guide for the final thickness. By planing both chopsticks in the same groove, you can achieve a consistent thickness for both.
Sandpaper: Get Two Different Grits
The lower the grit number printed on sandpaper, the coarser it is and the more material it removes. For making chopsticks, 240- and 400-grit sandpaper are usually sufficient for everything from refining the shape to smoothing the surface.
If you are shaping the wood with sandpaper instead of a plane, you will remove more material and wear through the paper quickly, so keep plenty of 240-grit sandpaper on hand. After sanding with 400-grit paper, lightly wipe the surface with a damp cloth and let it dry. Then sand it lightly again with 400-grit paper. This removes the wood fibers raised by the moisture, leaving the chopsticks with a smoother finish that feels more comfortable against your lips and inside your mouth.
| Grit | Purpose | When to use |
|---|---|---|
| 240 grit | Removes plane or knife marks and refines the shape | Right after shaping |
| 400 grit | Gives the surface a smooth finish | After sanding with 240 grit |
If you are shaping the wood with sandpaper instead of a plane, you will remove more material and wear through the paper quickly, so keep plenty of 240-grit sandpaper on hand. After sanding with 400-grit paper, lightly wipe the surface with a damp cloth and let it dry. Then sand it lightly again with 400-grit paper. This removes the wood fibers raised by the moisture, leaving the chopsticks with a smoother finish that feels more comfortable against your lips and inside your mouth.
Oil: Choose a Plant Oil That Hardens When Exposed to Air
For the finish, choose a plant-based oil that hardens as it dries. These oils penetrate the wood and cure to form a protective finish that helps repel water without leaving the surface sticky. In Japan, perilla oil, pressed from the seeds of a plant in the mint family, has a long history of use in wood finishing. Some products are specifically sold for treating wooden tableware and chopsticks.
If you choose linseed oil or tung oil, check the product label carefully. For linseed oil, look for raw oil rather than boiled linseed oil, which may contain metallic drying agents. For tung oil, choose pure tung oil rather than blended products marketed as “tung oil finish.”
Mineral oil, either on its own or mixed with melted beeswax, is another option. However, because these finishes do not cure and harden in the same way, they provide less durable water resistance and need to be reapplied regularly.
Avoid cooking oils such as olive oil, which do not cure into a hard finish and can leave the surface greasy or sticky. Residual oil may also contribute to unpleasant odors or surface discoloration over time.
Be cautious with commercial wood finishes containing solvents or chemical drying agents. Their curing times and suitability for food contact vary by product, and some should not come into contact with food until fully cured. If you want to use your chopsticks soon after finishing them, choose a product specifically labeled as suitable for food-contact surfaces and follow the manufacturer’s instructions for application and curing.
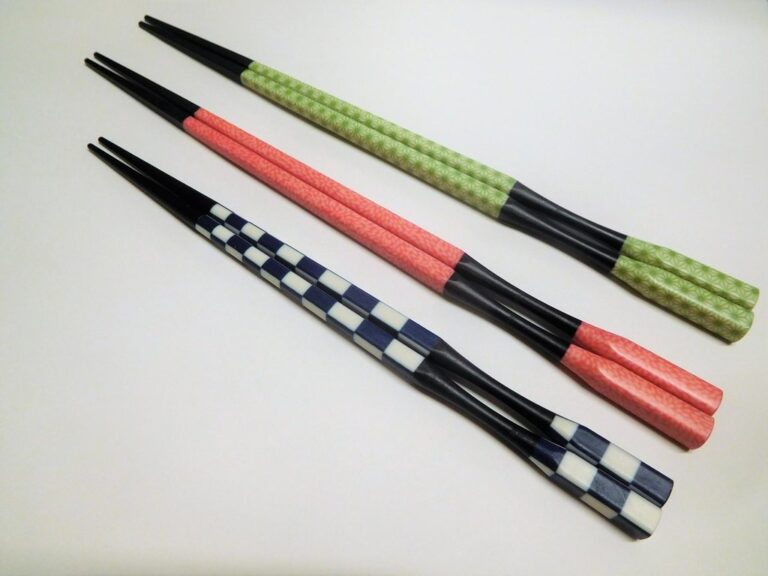
Making Chopsticks, Step 1. Cutting: Size the Wood to Your Hand

Once you have gathered your materials and tools, cut the wood into two pieces, one for each chopstick. The length and thickness you choose at this stage will largely determine how comfortable the finished chopsticks are to hold, so be sure to size them to suit the user’s hand.
Choose the Length Based on Your Hand Size
A comfortable chopstick length is approximately 1.5 times the distance between the tips of your thumb and index finger when you spread them at a right angle. In Japan, this measurement is traditionally known as hitoatahan, meaning “one and a half spans,” and has long been used as a guide for choosing chopstick length.
Chopsticks sold in Japan are generally around 22.5 cm (8.9 in) long for men and 21 cm (8.3 in) for women. However, these standard lengths are based on typical Japanese hand sizes. If you have large hands, use the measurement you obtain from your own hand instead. A difference of around 2 cm (0.8 in) is unlikely to make a noticeable difference in comfort. If your current chopsticks fit well, measuring them and using the same length is another reliable option.
| User | Approximate length |
|---|---|
| Adult men | About 22.5 cm |
| Adult women | About 21 cm |
| Children, ages 2–3 | About 13–14 cm |
| Children, ages 5–6 | About 16 cm |
| Children, ages 7–9 | About 18 cm |
The ideal length of children’s chopsticks varies considerably with age. From around age 10 onward, the recommended length gradually approaches adult sizes as children’s hands grow. If you are making chopsticks as a gift, measure the recipient’s hand before cutting the wood. If you are unsure about the ideal length, cut the pieces slightly longer than needed. You can always trim the tips later to adjust the overall length.
Cut Two Sticks from the Same Piece of Wood
Cut each piece of wood so that its cross section is a square measuring 7–8 mm (about 0.3 in) on each side. You will leave the handle end mostly unchanged and taper only the tip, so this dimension determines the thickness of the handle. Disposable wooden chopsticks are typically about 4–5 mm (0.16–0.2 in) thick and can bend when flexed lightly between your fingers. For sturdy everyday chopsticks, start with a piece of wood that is thicker than a disposable chopstick.
Cut both chopsticks from adjacent sections of the same board. This helps ensure that their color, grain, and hardness are similar, making them behave more consistently during planing and look more alike as a finished pair.
Before sawing, mark the cut line on both the top and the side of the wood, then clamp the wood securely to the workbench. Begin by resting the saw gently on the line without applying downward pressure to create a shallow groove. Once the groove is established, saw with a steady rhythm. This helps keep the cut straight.
Making Chopsticks, Step 2. Shaping: Taper Toward the Tip
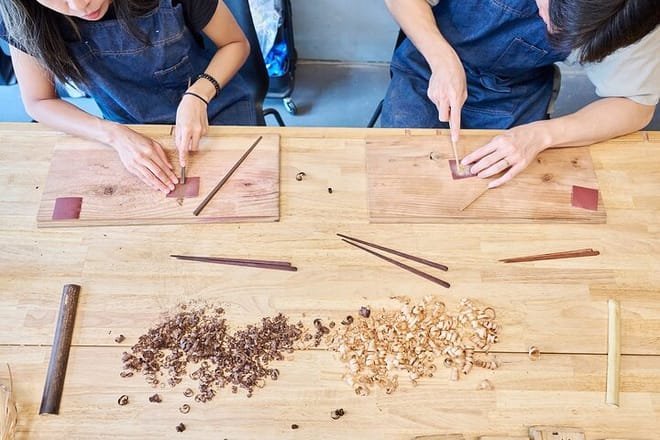
Once your wooden blanks are ready, use a hand plane to shape them into chopsticks that taper toward the tips. If you start planing without marking guidelines, the two chopsticks may end up with different thicknesses, or the tips may drift off-center. To avoid this, mark guide lines first, then shape the wood in two stages: first into an octagonal cross section, and then into tapered tips.
Mark Guidelines for Planing
Before you start planing, mark three types of guidelines on the wood. Use a ruler and a mechanical pencil with a fine lead to mark the lines accurately and keep track of how much wood you remove. Draw the following guidelines:
- Crosshairs at the tip: Draw a cross on the cut end of each stick, dividing it into four equal sections. Extend the lines about 5 cm (2 in) down the sides.
- Line around the handle: Draw a line all the way around the stick about 10 cm (4 in) from the handle end. You will begin tapering the stick at this line and continue toward the tip.
- Face numbers: Number the four faces of each chopstick from 1 to 4.
The crosshairs help you check whether the tip remains centered as you plane the wood. Numbering the faces helps you keep track of the planing sequence. By planing both chopsticks in the same order, you can shape them more consistently.
Plane Off the Corners to Make an Octagon
Starting just beyond the taper line, plane off the four corners, removing progressively more wood toward the tip. This creates an octagonal cross section at the tip and a gradual taper from the handle to the tip. Next, plane each of the eight faces evenly, removing about 0.8 mm (0.03 in) from each face to slim the stick overall. Rotate the stick 90 degrees at a time, following the numbered order, to keep all eight faces even.
Rather than finishing one chopstick before starting the other, work on the same face of each stick in turn, following the same sequence. Place them side by side after each round of planing to compare their thicknesses. This makes it easier to keep the pair consistent. If the crosshairs at either tip appear off-center, remove a little more wood from the thicker side to correct the alignment.
The cross section does not need to be round. Octagonal chopsticks are also commonly sold in Japan. Their flat faces rest against your fingers to provide a stable grip, while the slightly rounded corners make them comfortable to hold. Finally, lightly plane the four corners at the handle end as well to soften the edges and make the chopsticks more comfortable in your hand.
Refine the Tip
To taper the tips, lightly plane the corners of the octagon, removing a little wood at a time. Check the cut end as you work: if the crosshairs still meet at the center, the tip remains evenly shaped.
Stop planing when the tip is slightly thicker than your target size. You will refine it further with sandpaper during the finishing stage. Sanding removes additional material, so if you plane the tip down to its final target thickness, it may end up too thin and become more prone to breaking.
The ideal tip thickness also depends on the type of wood. Softwoods such as Japanese cedar and Japanese cypress are less strong, so leaving the tip slightly thicker—around 3 mm (0.12 in)—can help prevent breakage. With a hardwood, you can taper the tip to around 2 mm (0.08 in) while still making durable chopsticks.
Japanese chopsticks typically have pointed tips that make it easier to pick up small foods, such as beans and flakes of fish. If you want a fine, pointed tip, choose a hardwood and aim for a slimmer finish.
Making Chopsticks, Step 3. Finishing: Sand, Then Apply Oil
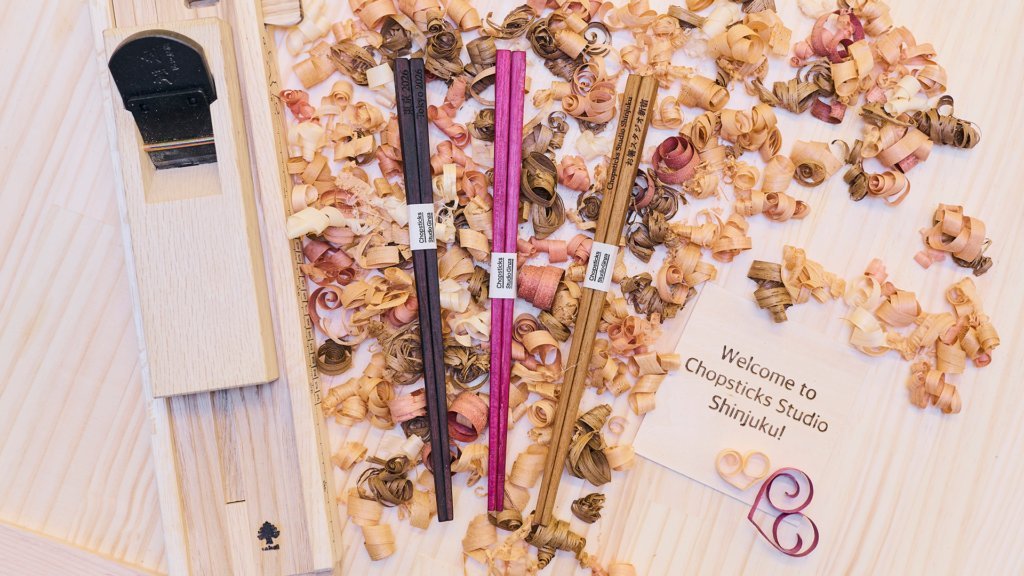
Once you have finished shaping the chopsticks, sand them until the surface is smooth, then apply the finishing oil and allow it to cure fully. Since chopsticks come into direct contact with your mouth, careful finishing helps make them comfortable to use and more durable.
Sand the Surface
After planing, the surface of the chopsticks may still have blade marks and small bumps. Start by sanding the entire surface with 240-grit sandpaper to remove the planing marks. Then switch to 400-grit sandpaper to smooth out the fine scratches left by the coarser grit. If you start with 400-grit sandpaper alone, larger bumps may remain even as the surface becomes smoother, leaving the chopsticks feeling rough against your mouth.
Wrap the sandpaper around a small block of wood rather than holding it directly with your fingers. Sanding with your fingers alone can round off the flat faces and soften the corners of the octagonal shape. Using a block helps keep the faces flat and preserves their shape. Sand along the grain rather than across it to reduce the risk of raising or fraying the wood fibers.
Finally, run your fingertips along the entire length of each chopstick. Pay particular attention to the tips and corners. Once you can no longer feel any rough spots or splinters, the sanding is complete.
Apply Plenty of Oil with a Cloth, and Wipe Off the Excess
After sanding, use a clean cloth to apply the finishing oil along the grain, covering the entire surface of each chopstick. Apply a generous first coat and let it sit for about 30 minutes. Then apply a little more oil to the cut ends and any areas that have absorbed the oil quickly and still look dry. Finally, wipe away all excess oil with a clean, dry cloth to prevent the surface from feeling sticky once the finish has cured.
Take care when disposing of oil-soaked cloths. Drying oils generate heat as they cure, and a cloth soaked in these oils can catch fire spontaneously if left crumpled or balled up. Follow the oil manufacturer’s disposal instructions. If the instructions permit disposal after soaking, proceed as follows:
- Soak the cloth thoroughly in water.
- While it is still wet, place it in a suitable sealed bag or container.
- Dispose of it according to local waste-disposal rules and the manufacturer’s instructions.
Let the Oil Dry in a Well-Ventilated Area
After applying the oil, let the chopsticks dry in a well-ventilated area until the surface is no longer sticky. Each coat may take at least a day to dry, and raw linseed oil can take considerably longer. Once a coat has dried, apply the next one and allow it to dry before repeating the process. Continue until you achieve the desired sheen. Since each additional coat adds to the drying time, allow several days for the finish to cure before using the chopsticks.
Dust can easily settle on the surface while the oil dries, so consider placing the chopsticks in a clean cardboard box with the lid loosely closed to protect them. Drying may take longer in cold or humid conditions. Avoid speeding up the process with a hair dryer or oven, as excessive heat can affect the wood or cause the finish to dry unevenly. Instead, let the chopsticks dry naturally, away from direct sunlight. Keep the room well ventilated, for example, by opening a window when conditions permit, and use gentle air circulation if needed. Drying oils harden through a reaction with oxygen, so adequate airflow helps the finish cure properly.
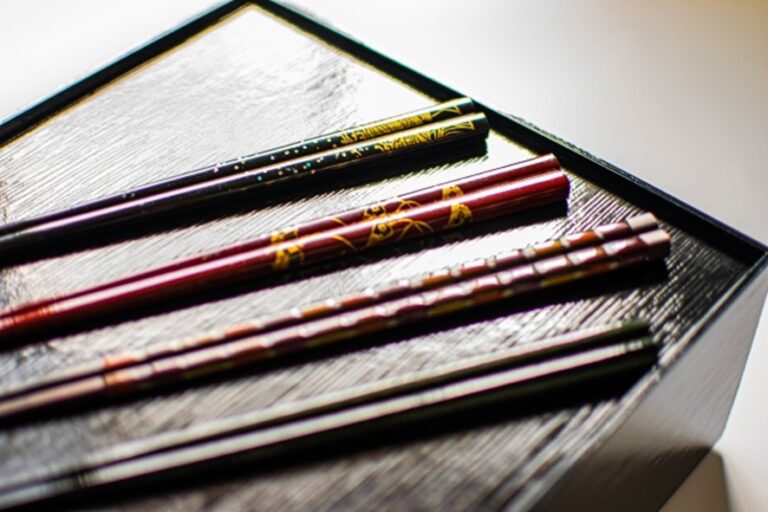
Five Chopstick-Making Studios in Japan with English Instruction
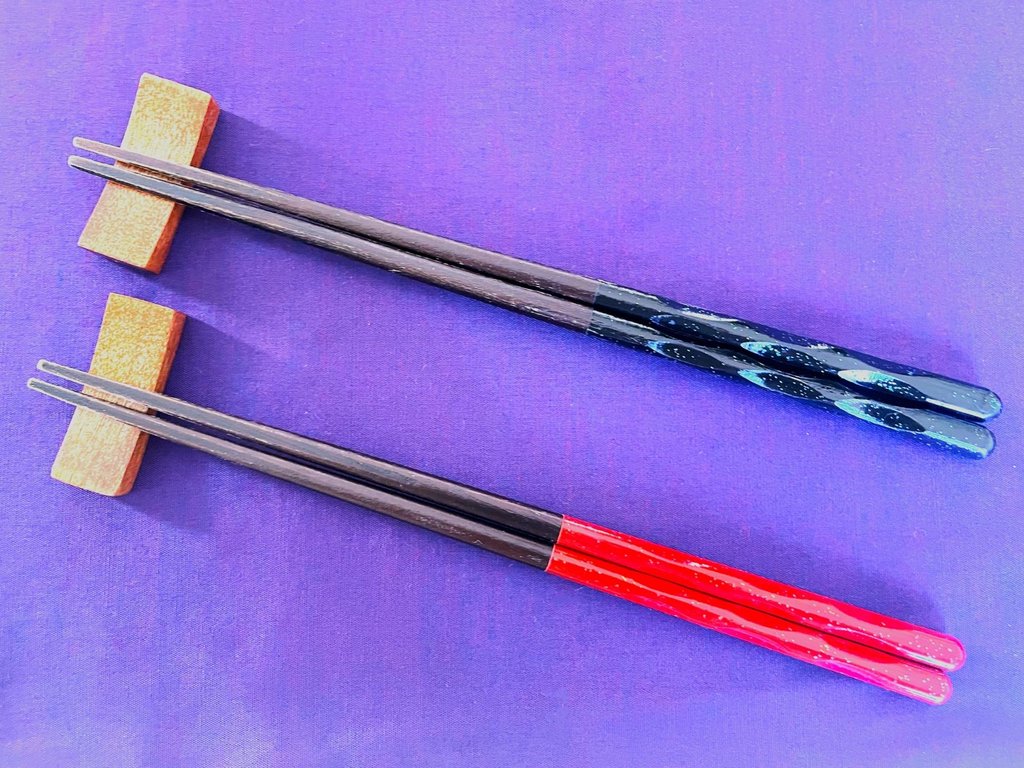
If you want to make your own chopsticks, another option is to learn directly from experienced instructors in Japan, where chopsticks have a long history. The angle of the plane and the amount of pressure to apply can be difficult to understand from text or videos alone. Watching an instructor demonstrate the technique in person can help you feel more confident when making chopsticks at home.
The five studios introduced here offer guidance in English, from selecting the wood to finishing your chopsticks. Each workshop takes about an hour, and you can take your finished chopsticks home the same day. The studios are located in four areas of Tokyo and in Kyoto, so you can choose one that fits your sightseeing itinerary.
Chopsticks Studio Shinjuku

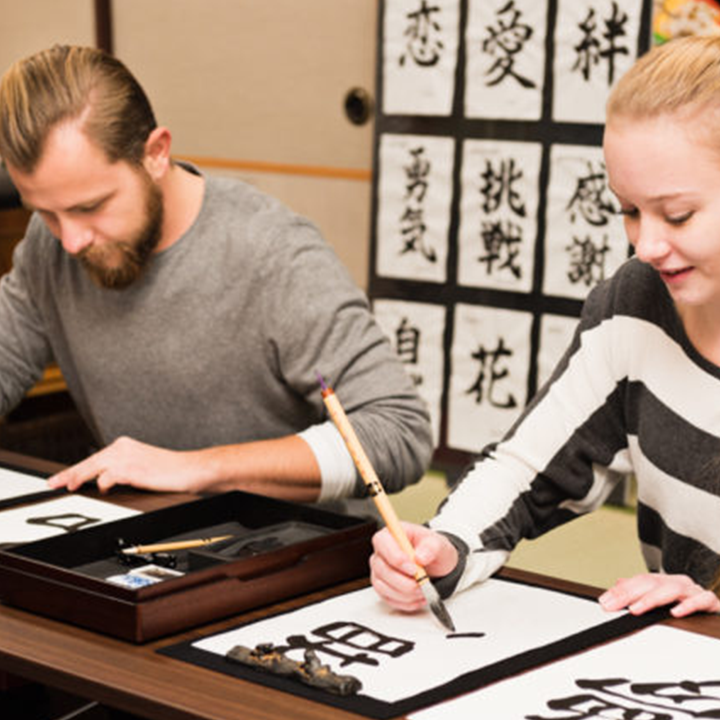
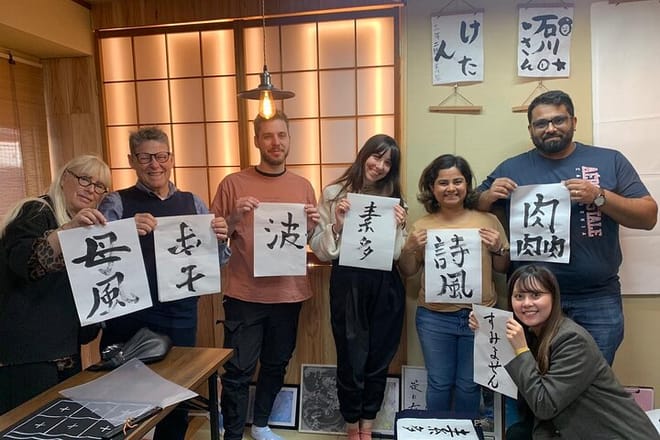
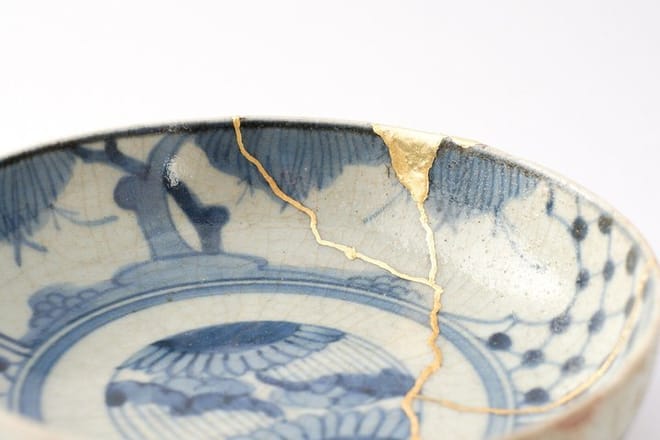
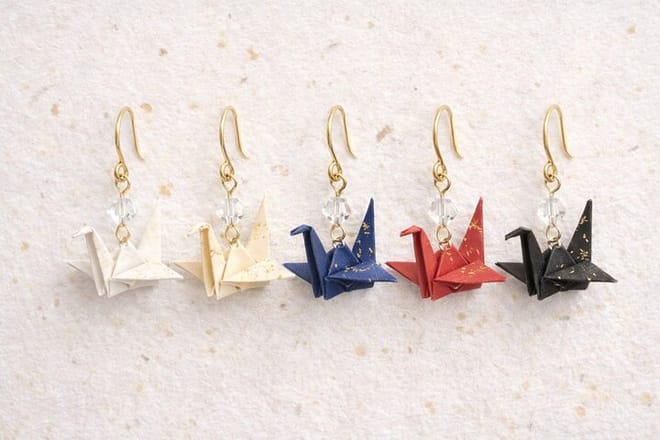
Chopsticks Studio Shinjuku is a Japanese cultural experience studio in Kabukicho, Shinjuku, Tokyo, about a four-minute walk from Shinjuku Station. The same building also hosts workshops in calligraphy, kintsugi—a traditional technique for repairing broken pottery with lacquer and decorating the seams with gold powder—and origami jewelry. After making your own chopsticks, you can join another workshop and experience several aspects of Japanese culture in a single day.
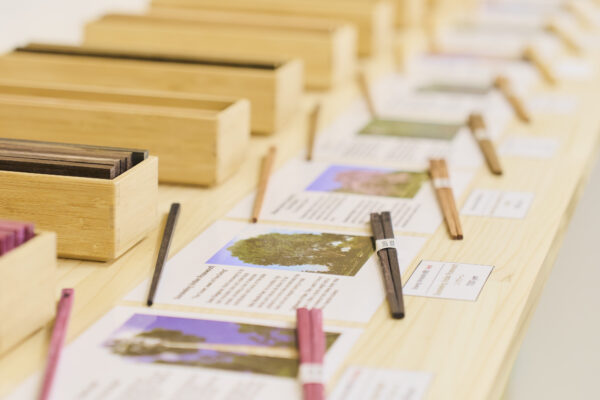
The studio offers more than 10 types of wood, three of which are included in the workshop fee. You can handle the different woods and compare their hardness and scent, giving you a better understanding of the differences described in this article and helping you choose wood for your own project at home. The workshop lasts about an hour, with English-speaking staff guiding you through the process, from using the tools to applying the finish. Many reviewers praise the staff for explaining each step carefully, making the experience accessible even to first-timers, and say that the workshop was enjoyable for the whole family. Free cancellation is available up to 24 hours before the workshop begins.
Details
| Address | 8F Dai-22 Higashi Building, 1-5-4 Kabukicho, Shinjuku-ku, Tokyo |
| Hours | Workshop start times 9:00 am–6:30 pm (every 30 minutes) |
| Closed | Irregular closures |
| Official website | https://japanguidestar.com/tour/tokyo-shinjuku-chopstick-making-workshop/ |
| Recommended for | First-time woodworkers, travelers who want to enjoy several Japanese cultural activities in one day |
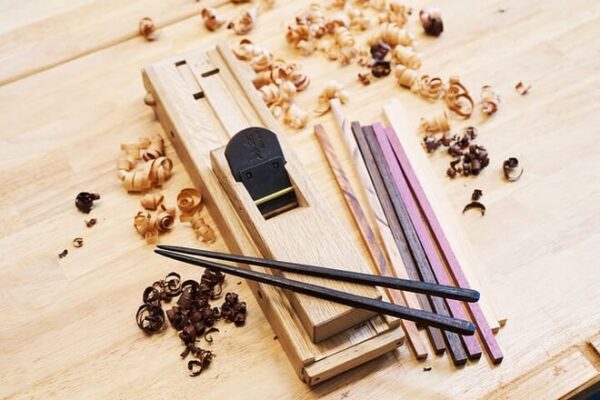
Tokyo Chopstick Making Workshop in Shinjuku
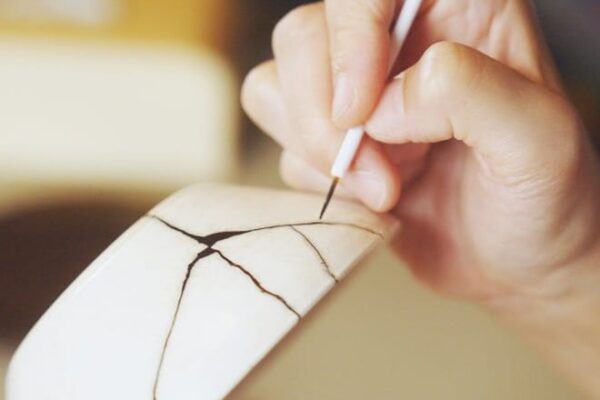
Tokyo: Japanese Gold Repair Kintsugi Workshop in Shinjuku
Chopsticks Studio Asakusa
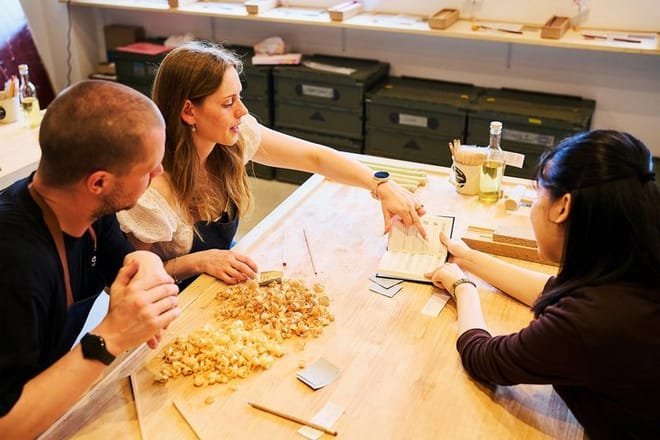
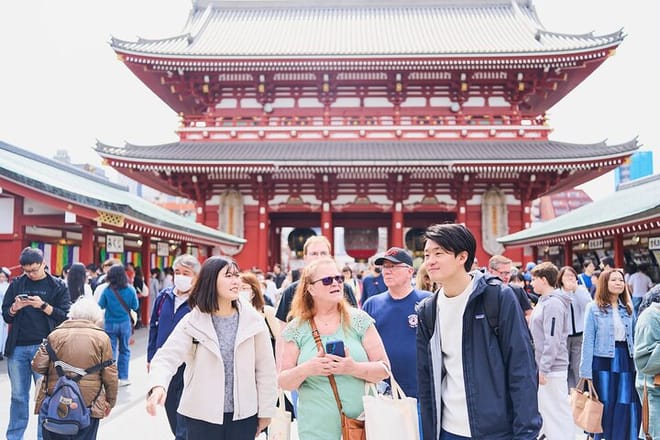
Chopsticks Studio Asakusa is located in Asakusa, Tokyo, about a five-minute walk from Asakusa Station and three minutes from Kaminarimon, the gate with a large red lantern marking the entrance to Senso-ji Temple. The workshop fits easily into a half-day sightseeing itinerary, alongside visits to Senso-ji and Nakamise-dori shopping street.
During the workshop, you can try the techniques covered in this article, from planing the corners off a square wooden blank to refining the shape with sandpaper and applying a finishing oil. You can watch the staff demonstrate each step as you work. The studio offers 12 types of wood, three of which are included in the workshop fee. The workshop lasts about an hour, with English-speaking staff guiding you through the process. Free cancellation is available up to 24 hours before the workshop begins.
Details
| Address | 6F TheRoom Asakusa, 1-16-11 Asakusa, Taito-ku, Tokyo |
| Hours | Workshop start times 9:00 am–6:30 pm (every 30 minutes) |
| Closed | Irregular closures |
| Official website | https://japanguidestar.com/tour/tokyo-asakusa-chopstick-making-workshop/ |
| Recommended for | Travelers who want to combine the workshop with sightseeing in Asakusa, those who want to see the planing steps up close |
Asakusa Premium Japanese Chopstick Making Workshop
Chopsticks Studio Ginza
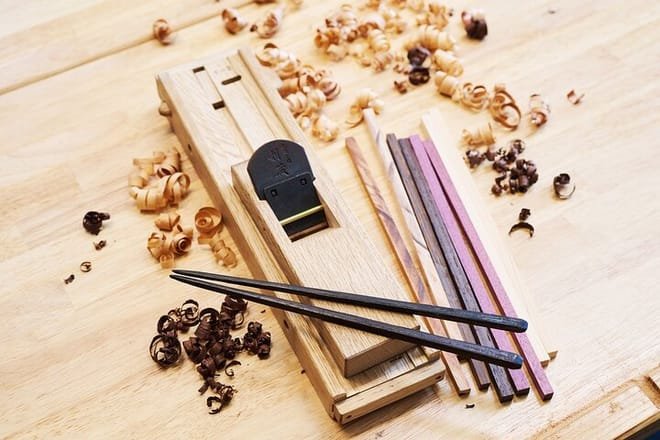
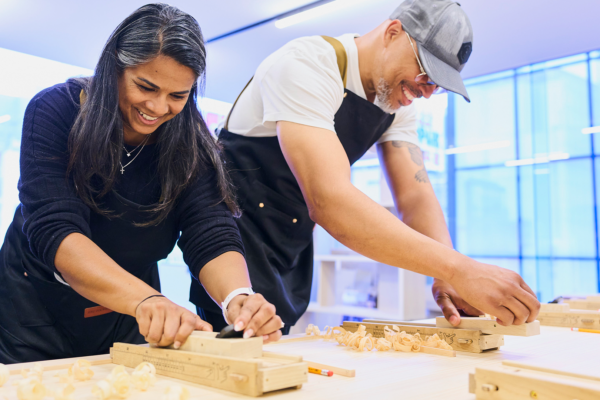
Chopsticks Studio Ginza is located in Ginza, Tokyo, just a one-minute walk from Exit 10 of Ginza-itchome Station. Workshops begin every 30 minutes from 9:00 am to 6:30 pm, making it easy to fit one into your shopping or dining plans in Ginza.
In addition to learning how to shape your chopsticks, you will hear explanations in English about the cultural history of chopsticks in Japan and how to care for your finished pair. You will also learn practical tips for keeping your chopsticks in good condition after returning home, such as drying them promptly after hand-washing and periodically reapplying finishing oil. The studio offers more than 10 types of wood, three of which are included in the workshop fee. Many reviewers praise the clear explanations, which help even beginners follow the process with confidence, as well as the staff’s friendly approach. The workshop lasts about an hour, and free cancellation is available up to 24 hours before it begins.
Details
| Address | 2F Kusumoto No. 17 Building, 1-14-12 Ginza, Chuo-ku, Tokyo |
| Hours | Workshop start times 9:00 am–6:30 pm (every 30 minutes) |
| Closed | Irregular closures |
| Official website | https://japanguidestar.com/tour/tokyo-ginza-chopstick-making-workshop/ |
| Recommended for | Travelers who want an activity between shopping in Ginza, those who also want to learn about chopstick culture and care |
Tokyo Chopstick Making Workshop in Ginza

Chopsticks Studio Shibuya
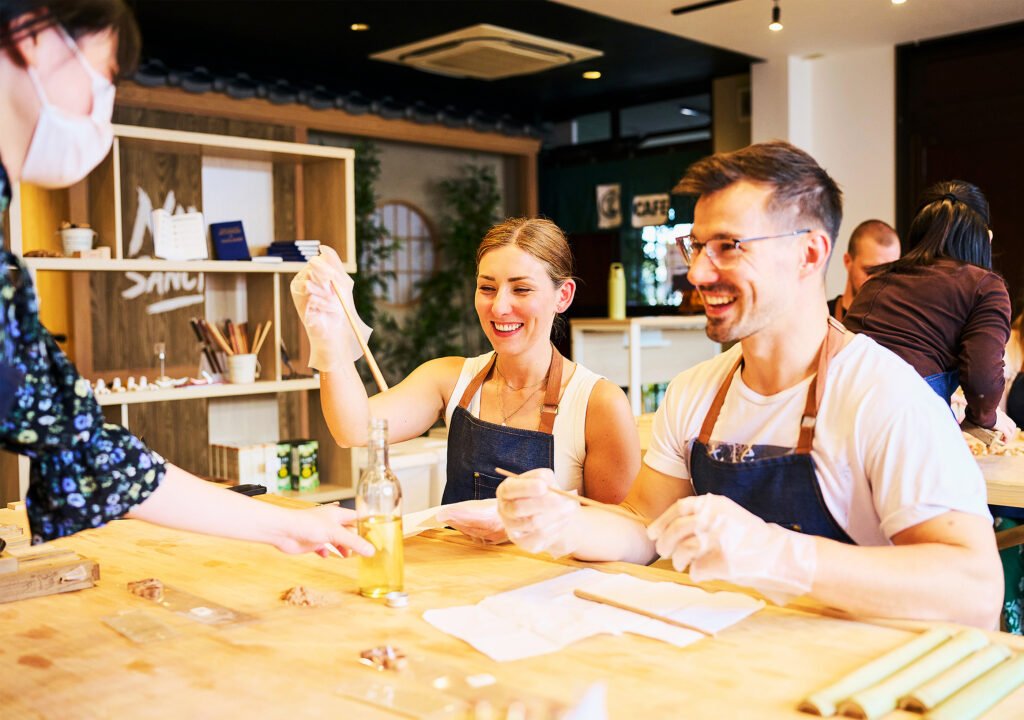
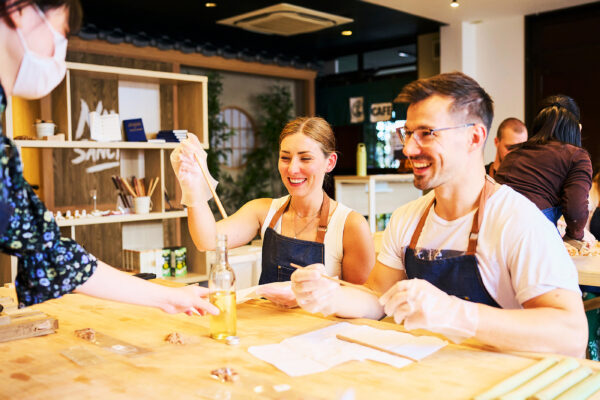
Chopsticks Studio Shibuya is about a five-minute walk from Shibuya Station in Tokyo. It is also close to Shibuya Scramble Crossing, the famous intersection where pedestrians cross from all directions at once. This makes it easy to fit the workshop in before or after exploring the area or enjoying a meal in Shibuya.
The studio offers more than 10 types of wood, three of which are included in the workshop fee. The woods vary in scent, color, and texture, giving you the chance to compare them before making your selection. As you work, English-speaking staff explain how the wood and the shape of the chopsticks affect how they feel in your hand and against your mouth. These insights can help you choose the right wood and shape for chopsticks you make at home. For an additional fee, you can also have your name engraved on your finished chopsticks, making them a memorable souvenir or a thoughtful gift. The workshop lasts about an hour, with English-speaking staff guiding you through each step. Free cancellation is available up to 24 hours before the workshop begins.
Details
| Address | 1-20-7 Jinnan, Shibuya-ku, Tokyo |
| Hours | Workshop start times 9:00 am–6:30 pm (every 30 minutes) |
| Closed | Irregular closures |
| Official website | https://japanguidestar.com/tour/tokyo-shibuya-chopstick-making-workshop/ |
| Recommended for | Travelers who want to combine the workshop with sightseeing in Shibuya, those looking for the chopstick shape and material that suit them |
Tokyo Shibuya Chopstick Making Workshop
Chopsticks Studio Kyoto
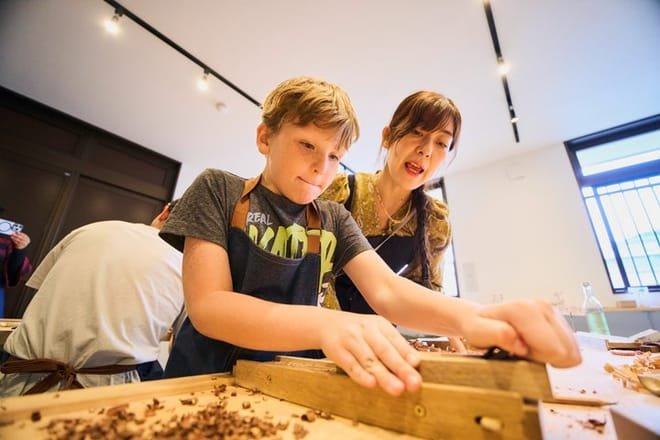
Chopsticks Studio Kyoto is located in Arashiyama, Kyoto, about a two-minute walk from Arashiyama Station on the Randen, Kyoto’s streetcar line. It is easy to combine a visit with sightseeing in the area, such as exploring Tenryu-ji Temple and walking along the Bamboo Forest Path, a walkway lined with towering bamboo. Since the workshop takes place indoors, it is also a good option for a rainy day.
As you make your chopsticks, English-speaking staff demonstrate how to use the hand plane, allowing you to observe the blade angle and how much pressure to apply. Watching the technique in person can help you feel more confident when planing wood at home. The studio offers 12 types of wood that vary in scent, color, and hardness, three of which are included in the workshop fee. Many reviewers praise the friendly staff and easy-to-follow English explanations. Some also mention receiving help with choosing the lettering for name engraving. The workshop lasts about an hour, and free cancellation is available up to 24 hours before it begins.
Note that the studio is on the second floor of a building without an elevator, so access is by stairs only. If you are carrying large luggage, leaving it in a coin locker at the station may make getting around easier.
Details
| Address | 2F, 3-25 Saga-Tenryuji Susukinobaba-cho, Ukyo-ku, Kyoto |
| Hours | Workshop start times 9:00 am–6:30 pm (every 30 minutes) |
| Closed | Irregular closures |
| Official website | https://japanguidestar.com/tour/kyoto-arashiyama-chopstick-making-workshop/ |
| Recommended for | Travelers who want to combine the workshop with sightseeing in Arashiyama, those who want to learn planing by watching hand movements |

Kyoto: Arashiyama UNESCO Walking Tour with Admission

Frequently Asked Questions About Making Chopsticks

Finally, here are answers to some frequently asked questions about making chopsticks. These cover a few things to consider before you begin, including how to care for your finished chopsticks, making chopsticks with children, and adding names.
Can I Make a Chopstick Rest from the Same Wood?
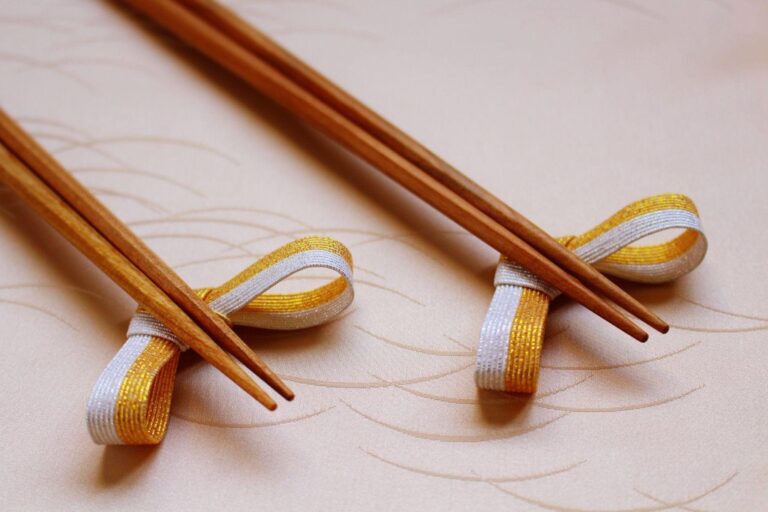
Yes. You can use leftover wood from the board you cut your chopsticks from or small pieces of other offcuts. Any design will work as long as it keeps the chopsticks from rolling off. A shallow V-shaped groove or a wider base for added stability can make the chopstick rest more practical. If you finish the rest with the same oil as the chopsticks, you can give them as a matching set with a consistent color and sheen.
How Should I Care for Finished Chopsticks?
Wash the chopsticks by hand immediately after use, wipe off excess water, and let them dry with the tips pointing down in a well-ventilated area. Soaking them in water or washing them in a dishwasher can cause the wood to warp or crack. If the surface starts to look whitish or dry, apply a thin coat of the same oil used for the original finish to help restore its smooth feel.
Can I Make Chopsticks with My Children?
Yes. An adult or staff member handles any steps involving cutting tools, while children can help with sanding and decorating their chopsticks under appropriate supervision. Age restrictions and the tasks children are allowed to do vary by studio and workshop plan, so check the official information before booking.
Tokyo Chopstick Making Workshop in Ginza
Can I Put a Name on My Chopsticks?
Yes. At home, you can personalize your chopsticks by burning letters into the wood with a wood-burning pen, a tool with an electrically heated tip. Practicing on a scrap piece of wood first can help you avoid mistakes. At chopstick-making studios in Japan, name engraving is available for an additional fee with the standard plan, while laser engraving is included in the Premium plan.
Asakusa Premium Japanese Chopstick Making Workshop
Tokyo Shibuya Chopstick Making Workshop
Make Your Own Chopsticks at Home
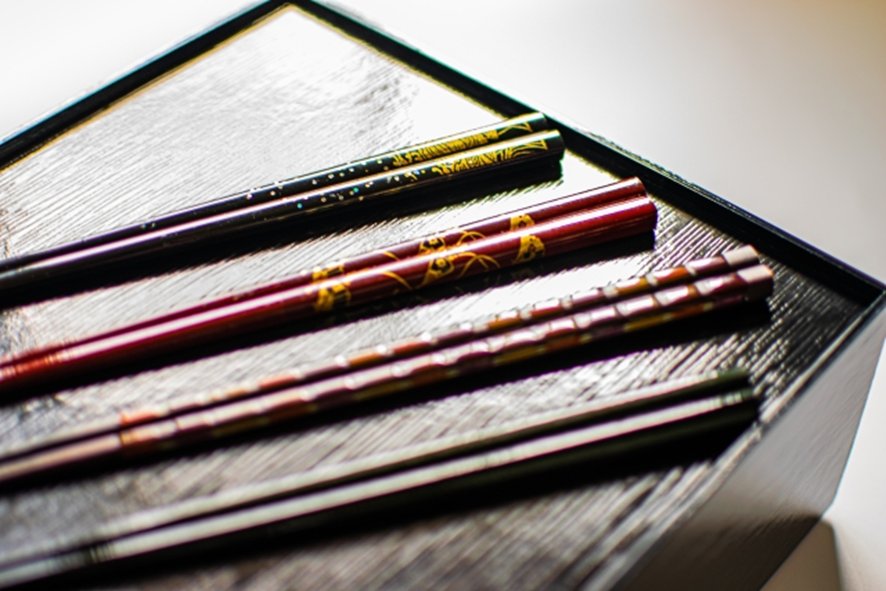
Making chopsticks involves three steps—cutting, shaping, and finishing—and you can complete them at home using simple hand tools such as a hand plane, a small knife, and sandpaper. If you are a beginner, Japanese cedar or Japanese cypress are good woods to start with because they are relatively easy to shape. For sturdy everyday chopsticks, consider a hardwood such as hard maple. Choose a finishing oil that is suitable for food-contact items and follow the manufacturer’s instructions for application and curing to ensure the chopsticks are safe to use. If you are concerned about removing too much wood or choosing the right finish, review the measurement guidelines and oil-selection advice in this article.
If you would like to learn planing techniques from an experienced instructor before trying them at home, consider adding a chopstick-making workshop to your trip to Japan. Start shaping your chopsticks over a weekend, allow enough time for the finish to cure over the following days, and enjoy creating a pair that is uniquely yours.
Tokyo Chopstick Making Workshop in Ginza